Difference between revisions of "Building a timeline"
| (2 intermediate revisions by the same user not shown) | |||
| Line 64: | Line 64: | ||
* Printed (empty) timeline | * Printed (empty) timeline | ||
| − | * (if needed | + | * Pre-printed entries (if needed) |
* Printer | * Printer | ||
* Writing equipment, scissors | * Writing equipment, scissors | ||
| Line 107: | Line 107: | ||
The project is not designed to be formally assessed. Students get feedback informally during the process from the teacher. A group discussion at the end of the project will help students reflect on and embed what they have learned. | The project is not designed to be formally assessed. Students get feedback informally during the process from the teacher. A group discussion at the end of the project will help students reflect on and embed what they have learned. | ||
| − | But of course, students can be assessed on a final result or could be used to assess skills such as ‘long life learning’, ‘research skills’, ‘group participation’ using the appropriate usual methods. | + | But of course, students can be assessed on a final result or the project could be used to assess skills such as ‘long life learning’, ‘research skills’, ‘group participation’ using the appropriate usual methods. |
== Our Experience == | == Our Experience == | ||
| Line 118: | Line 118: | ||
=== Additional information and resources === | === Additional information and resources === | ||
| + | |||
| + | |||
| + | [[File:Timeline.jpeg|thumb|800px|center|Members of the Canon team looking at a timeline at RITCS]] | ||
| + | |||
[[File:IO4 07 01.jpeg|thumb|800px|center|Members of the Canon team looking at a timeline at RITCS]] | [[File:IO4 07 01.jpeg|thumb|800px|center|Members of the Canon team looking at a timeline at RITCS]] | ||
Latest revision as of 15:08, 5 March 2023
Aims
The project will:
- Introduce historical facts, people, equipment, theatres…
- Allow better insights into the relationships between these
- Improve understanding through the visualisation of information.
Key Information
| Number of learners | The project can be done individually, or in small groups of 3–6 students (but several groups can work on the same timeline) |
| Number of staff | 1 teacher |
| ECTS Credits (if applicable) | Not applicable |
Learning process
| Lecture/seminar | Lecture, presentation, discussion (face-to-face or online) | |
| Making project | Making a model, mock-up, plan or design (physical or digital) | |
| Performance project | Making a performance or demonstration (live or mediated) | |
| X | Records and Archives | Interviews, photographs and videos of artefacts, annotating archives, creating learning materials (physical or digital) |
| X | Independent study | Reading, researching, analysing and evaluating learning materials (physical or digital) in groups or alone |
Type of learner
| X | Student of technical theatre |
| X | Student of theatre design, architecture |
| X | Student of theatre arts |
| X | Professional |
| X | Researcher |
| X | General public |
What You Will Need
Duration and schedule
This methodology can be used in different ways. It can be used as a support for personal research, it can be used as a group exercise where each individual can add a part to the whole, or it can be used as a ‘summarising’ or ‘wrap-up’ of course content during or at the end of a course of study.
The minimum continuous activity is 15 minutes. A group can create a simple timeline in 3 hours.
Room or type of space
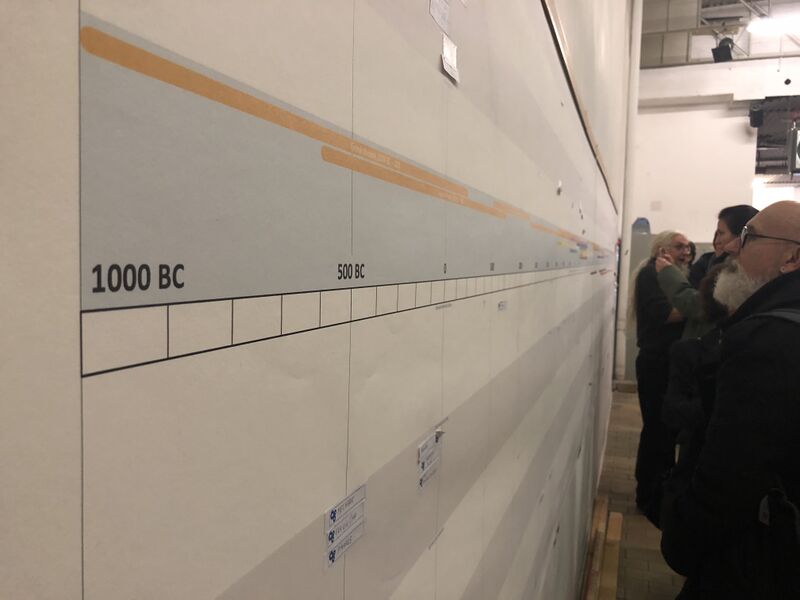
Any space will do, as long as it has a long wall to put the timeline on. It can even be done in a corridor, where the results are shown to the other people.
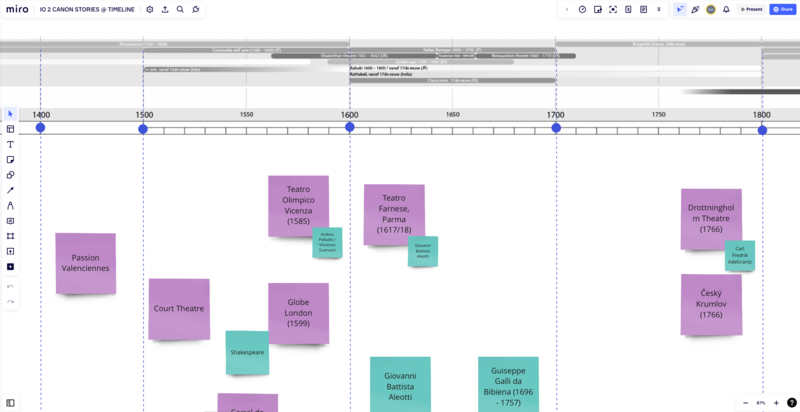
Alternatively, the project can be done online using a collaboration tool such as Miro (miro.com).
Equipment
- Printed (empty) timeline
- Pre-printed entries (if needed)
- Printer
- Writing equipment, scissors
Materials (consumables)
- Self-adhesive notes (‘post-its’)
- Small stickers (different coloured dots or similar)
- Paper
- Marker pens
Learning resources (books, websites)
- sources about the chosen subject, and general history
- the Canonbase!
Process
Preparation
Hang the timeline in a suitable place and gather the necessary tools and materials.
The rest of the preparation depends on how the workshop is conducted:
- If it is subject or course based, some basic timeline items can be prepared in advance.
- If it is open research, nothing needs to be prepared, but some examples can help.
The learning activity
The students are introduced to the timeline and how they will use it. Some rules can be defined on how to work together and how to treat each other’s entries.
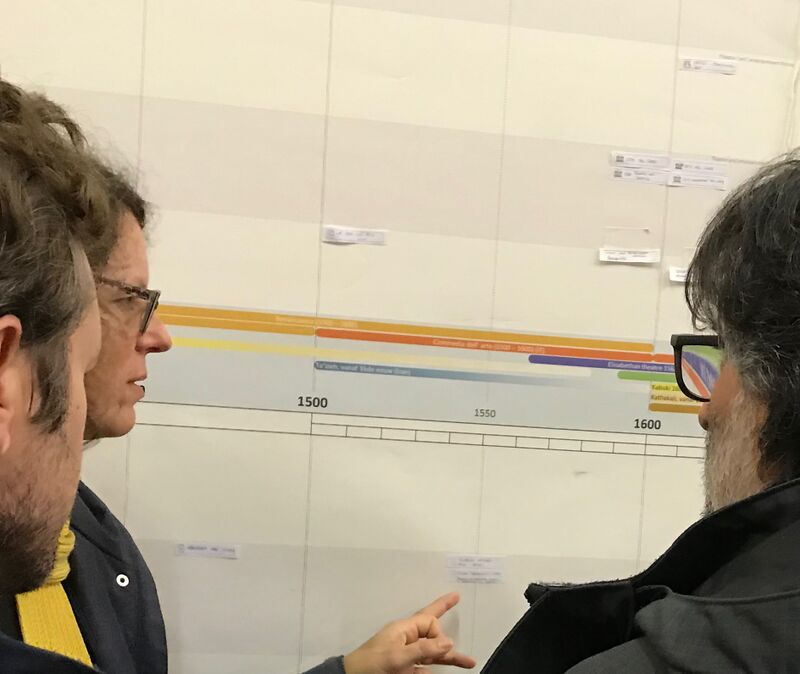
They are given the assignment to research a specific topic, a time period, or the content of the course(s) they will follow. Students do research and note on ‘post-its’ or in a digital document concrete facts with a date and short description. These are put on the timeline. Additional material or pictures can be put on A4 papers below or above the timeline and linked with a line (or string). Relations can be marked directly on the timeline by drawing lines. When enough material is gathered, the group discusses the content, the importance of the facts, what information is missing, how things relate to each other, and so on.
To stimulate the discussion, students could add green or red dots to entries they see as more or less important. Only entries with dots with different colours need to be discussed.
This process is repeated a couple of times (in case of a course-based timeline, after each class).
When enough material is gathered for a topic that includes a range of items, it can be reworked as a coherent story, or can be presented as a result.
Assessment and feedback
The project is not designed to be formally assessed. Students get feedback informally during the process from the teacher. A group discussion at the end of the project will help students reflect on and embed what they have learned.
But of course, students can be assessed on a final result or the project could be used to assess skills such as ‘long life learning’, ‘research skills’, ‘group participation’ using the appropriate usual methods.
Our Experience
Tips
This methodology works best when students start with topics that are close to their world, for example ‘the history of the cultural centre in your town’, or ‘equipment that you know or have heard of’). During the run, this can be extended to elements that influenced these topics, or that provide wider context, to end up with more general history.
Discussions on the topics should be based on why an entry is important, not on subjective matters of personal taste and preference.
Additional information and resources
Credits
| This learning method was made by: | Chris Van Goethem |
| Institution: | RITCS (EhB) |


