Aims[edit]
The project aims to:
- Demonstrate the technique of Pepper’s Ghost
- Explore the technique’s dramaturgical possibilities – how it can be used as part of a performance to tell stories
- Introduce students to the optical principles of mirrors
- Develop an understanding of how light can be used to control the stage picture
Key Information[edit]
| Number of learners | The project works best with students working in groups of 3 or 4. You can have several groups working in the same room, if you have the resources; we recommend a maximum total group size of 20 (5 smaller groups). Alternatively, you can make this project working independently. |
| Number of staff | The teacher |
| ECTS Credits (if applicable) | Not applicable |
Learning process[edit]
| Lecture/seminar | Lecture, presentation, discussion (face-to-face or online) | |
| X | Making project | Making a model, mock-up, plan or design (physical or digital) |
| X | Performance project | Making a performance or demonstration (live or mediated) |
| Records and Archives | Interviews, photographs and videos of artefacts, annotating archives, creating learning materials (physical or digital) | |
| X | Independent study | Reading, researching, analysing and evaluating learning materials (physical or digital) in groups or alone |
Type of learner[edit]
| X | Student of technical theatre |
| X | Student of theatre design, architecture |
| X | Student of theatre arts |
| X | Professional |
| X | Researcher |
| X | General public |
What You Will Need[edit]
Duration and schedule[edit]
Preparation by the teacher:
1-2 hours.
Preparation by the students:
None.
The project:
3 hours, or longer if you do the additional activities suggested.
Room or type of space[edit]
A small lighting studio is ideal, but any space that can be blacked out will work.
Equipment[edit]
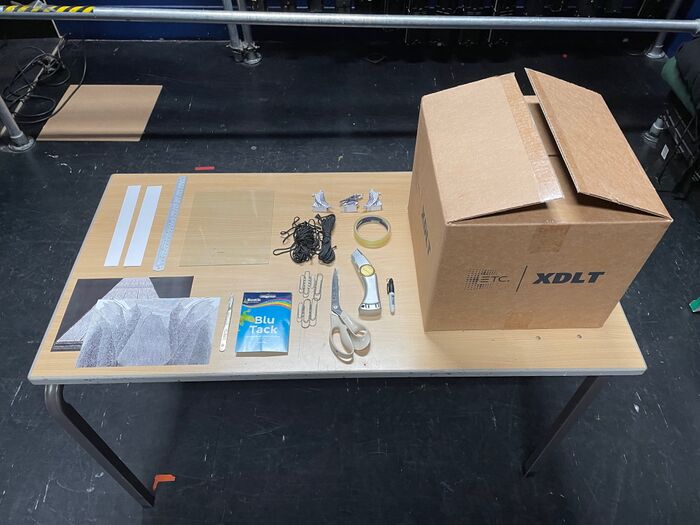
- A range of light sources. Miniature spotlights are ideal, but you can improvise with desk lamps, torches, mobile phones, and so on.
- A small sheet of glass or clear plastic. The glass from a picture frame is ideal. Make sure any sharp edges are taped over.
- Tools for working with paper and card:
- Craft knife
- Metal ruler
- Scissors
- Glue
- Adhesive tape
- Paper clips
- Marker pens
Optional:
- A camera to photograph or video the result.
Materials (consumables)[edit]
- A cardboard box. It is best if this is roughly a cube, about 30-40cm across, as this will be the basis of your model stage. Alternatively, you can make the stage from separate sheets of cardboard or wood.
- Stiff card, to cut out the characters from.
- Large sheets of paper, to draw the scenery on. Alternatively, you can print out our artwork for the scenery and characters.
Learning resources (books, websites)[edit]
There are illustrations of the Pepper’s Ghost technique available online. Wikipedia is a good starting point:
https://en.wikipedia.org/wiki/Pepper%27s_ghost
Process[edit]
Preparation[edit]
Prepare a short presentation to the students explaining the history of Pepper’s Ghost, and how the technique works.
Gather the materials. You may want to prepare the scenery and characters in advance, or you may want the students to make them.
The learning activity[edit]
Start with a short presentation to the students, explaining the history of Pepper’s Ghost, and how the technique works.
Unless you have prepared it in advance, have the students make their theatre and scenery from the materials provided:
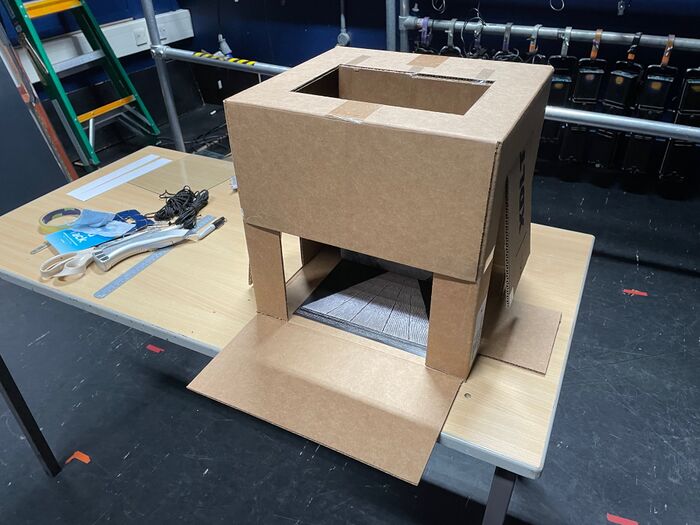
- Cut openings in the box to make a proscenium arch, and so the sides of the stage are open.
- Decide on a scene for the action to take place in. This can be based on an actual play, or invented for the project.
- Make a scenic floor for the scene.
- Make a back scene and attach it to the inside of the box at the back of the stage.
- Make the characters as cardboard cut-outs, with a base so they can stand up. At minimum, you need two characters – one to appear as a ghost, and one to be frightened!
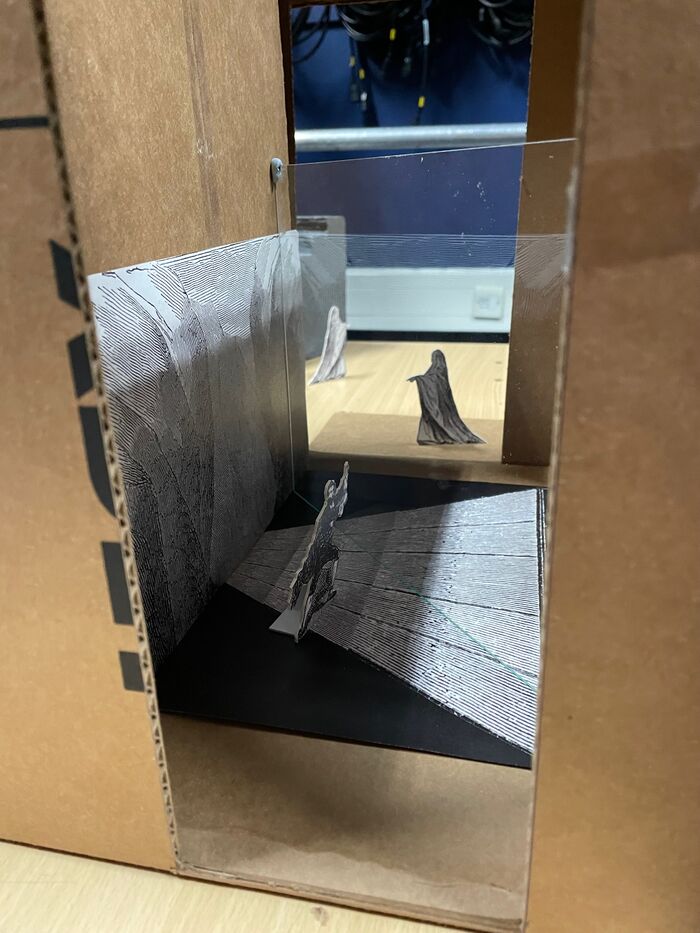
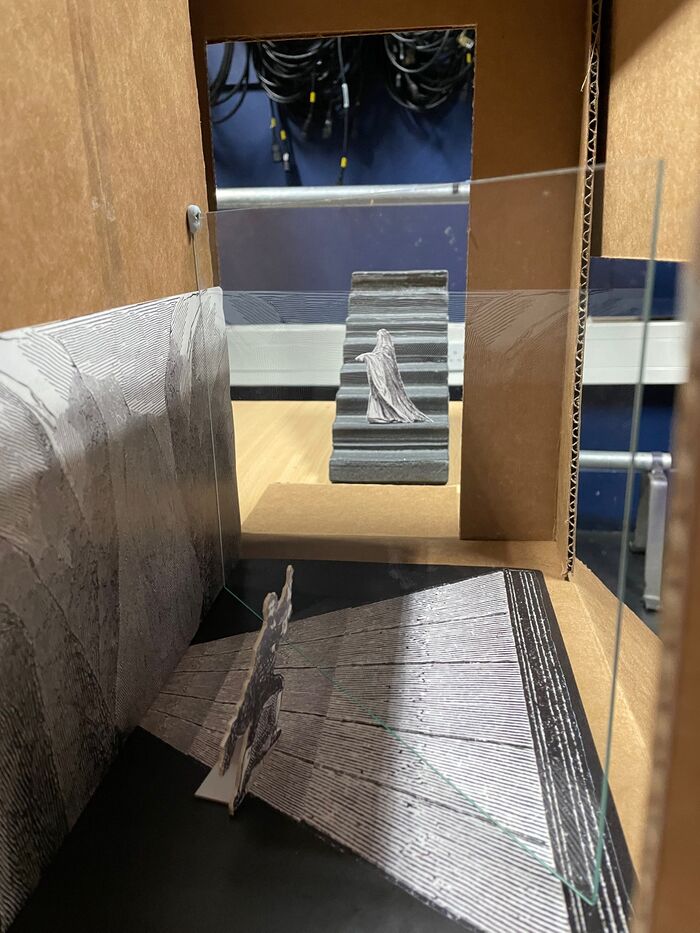
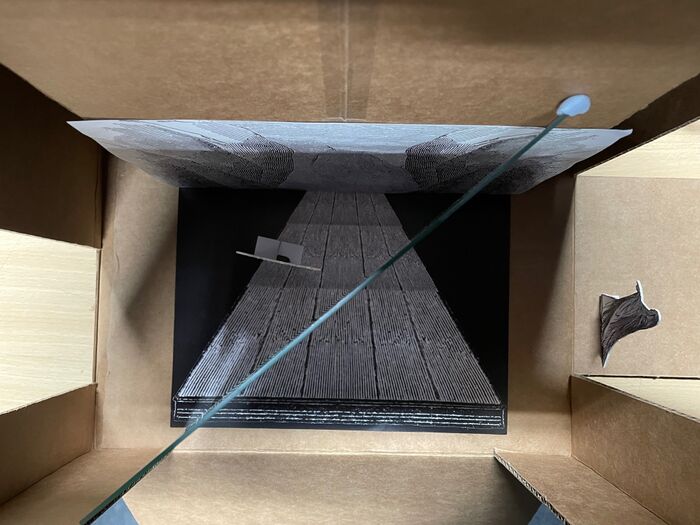
- Rig the sheet of glass or clear plastic going diagonally across the stage.
If you are working with several groups, wait until every group has finished their theatres. Then you can turn the room lights off, and start lighting the stages. Ask the students to create lighting for:
- The stage, including the character(s) on it.
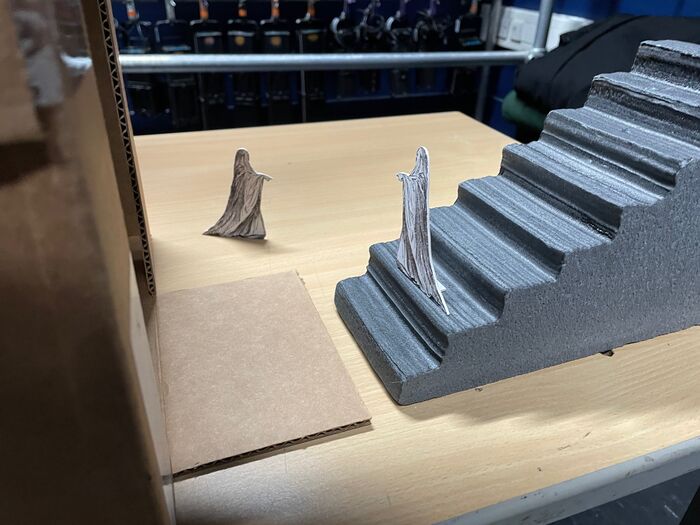
- The ghost. The ghost is placed in one of the wings at the side of the stage, so that you can see it reflected in the glass when looking from the front.
You will need to carefully adjust the placement of the glass sheet, the ghost figure and the lighting to get the right effect when viewing from the front of the stage. Once the effect is working, turning the lighting on the ghost on and off will make it ‘magically’ appear on stage, next to the other character.
Optional additional activities:
- Create a short performance, either based on an existing scene from a play, or one the students devise.
- Photograph and video the Pepper’s Ghost effect in action.
- Explore how the staging and the lighting can be varied to create different effects:
- What happens if you move the ghost nearer the stage, or further away?
- Can the ghost appear in different ways – walking into the scene, or appearing as the light comes on?
- How much can you control the transparency of the ghost? Can you make this part of the story?
- How much does the viewing angle matter? Imagine sitting in different parts of the theatre, looking at the stage from different positions – what does this do for the effect? Who has the best view?
- The example described here uses a sheet of glass placed diagonally across the stage, with the ghost in the wings. Pepper’s Ghost can be done with the glass at the front (so taking up less of the stage) and the ghost in the orchestra pit. Try rebuilding your model stage in this configuration – what are the advantages and disadvantages of each method?
- Research other methods to bring a ghost onto the stage, such as the Corsican Trap. How do these compare to Pepper’s Ghost? Why would you choose one over the other?
Assessment and feedback[edit]
The project is not designed to be formally assessed. Students get feedback informally during the process from the teacher. A group discussion at the end of the project will help students reflect on and embed what they have learned.
The project could act as an introduction to further study of the use of 19th century and earlier stage techniques to create special effects.
Our Experience[edit]
Tips[edit]
There are two things that are critical to making the Pepper’s Ghost effect work well: positioning the glass and the ghost figure, and lighting.
It is a good idea to get the glass and the ghost positioned while working under general room lighting. Keep adjusting things until you can see the reflection of the ghost where you want it, when looking at the stage directly from the front. Then experiment with slight changes to the angle of the glass, and the position of the ghost, so you understand how it all works. This is an important learning aspect of the project.
Once you have got the ghost and the glass positioned, you can start lighting. You might need to cut extra holes in the box to allow light in from the directions you want. Experiment to see what lighting angles work best – in general, you want to keep light off the glass as much as possible.
Use pieces of paper or card with a hole cut in to act as a ‘gobo’ (go-between), to shape the beam of light. This is especially useful if you are improvising your light sources with desk lamps, torches and so on.
Relate your lighting to your story – try to create candlelight or moonlight if that fits your theme. Think about what kind of ghost you want – is it a green pantomime ghost, or a sinister cold blue ghost?
Additional information and resources[edit]
Information on the Canon database[edit]
Artwork for making the model[edit]
You can design and make your own setting, but if you want to use the one we made from a 19th century engraving of Pepper's Ghost, here is the artwork:
The artwork is based on this engraving:
Making the Model[edit]
| Assembling the tools and materials. | |
| The cardboard box with holes cut for the proscenium opening and wings, and access through the top of the stage. | |
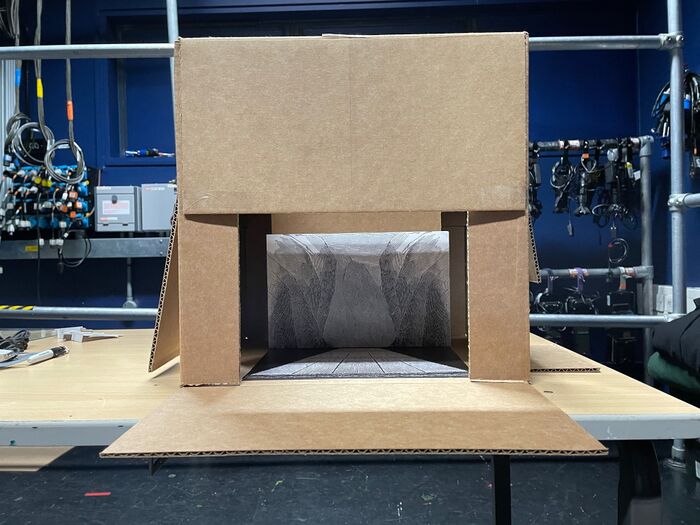
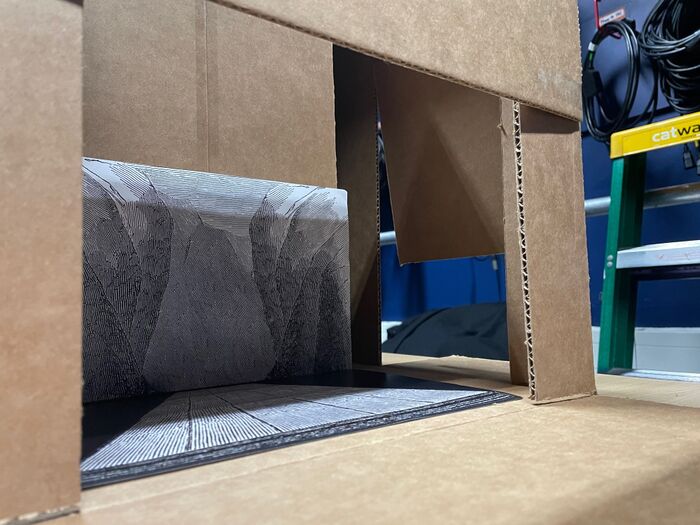
| Front view, showing the backdrop and floor in place. | |
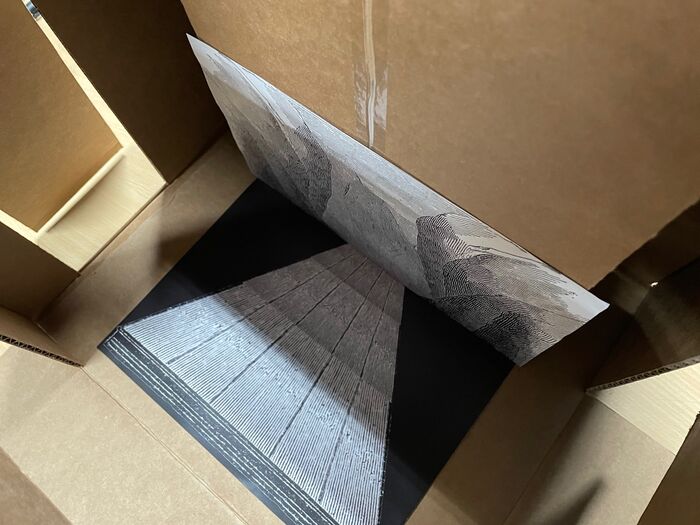
| Top view. | |
| Looking into the audience-right wing. | |
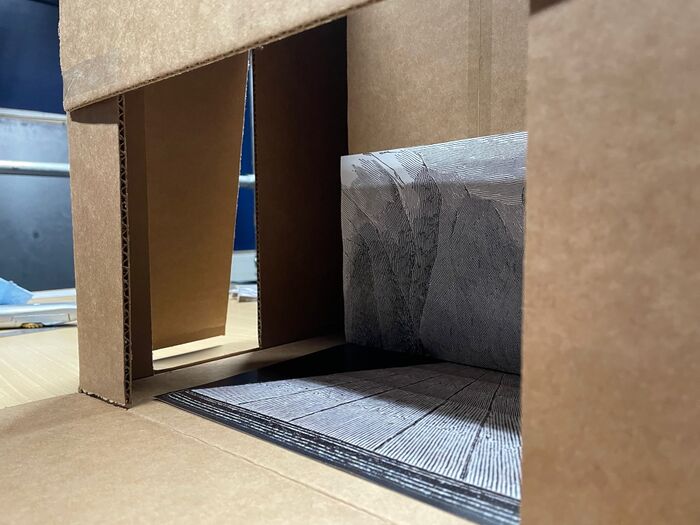
| Looking into the audience-left wing. | |
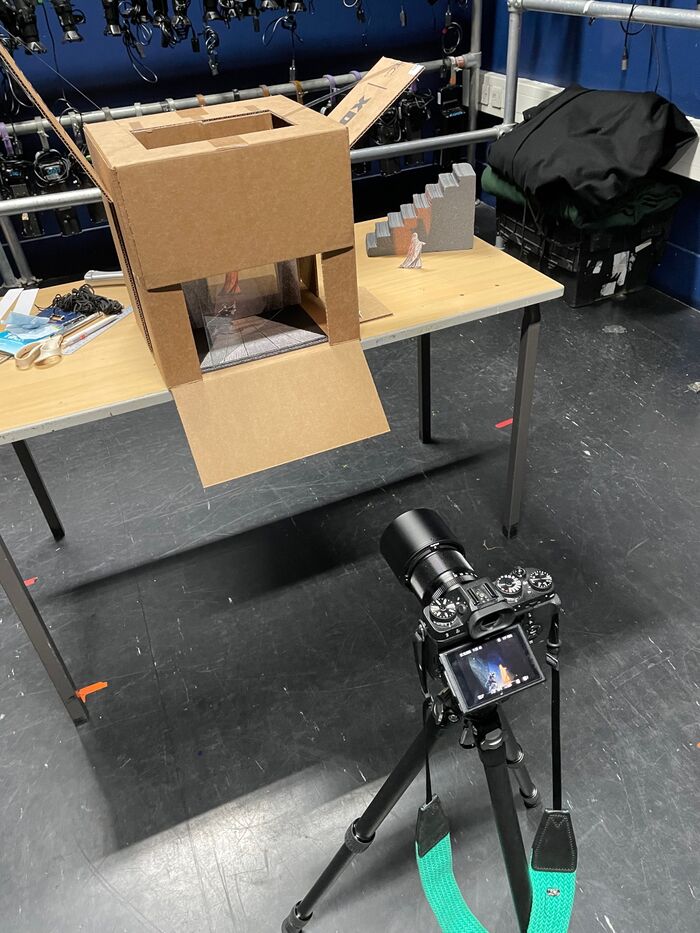
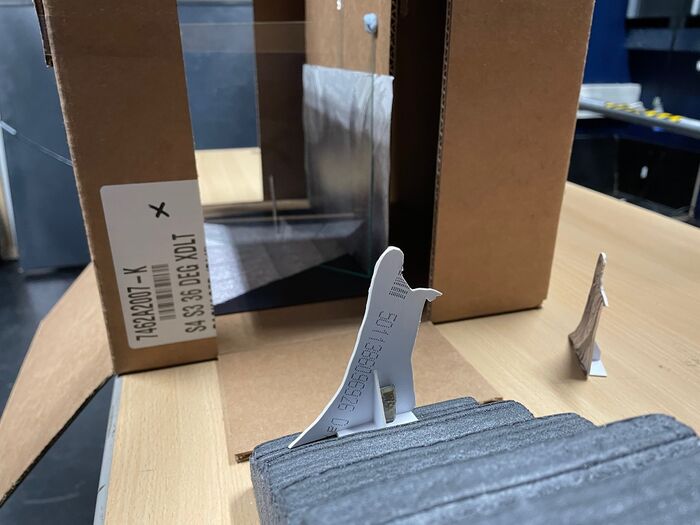
| Camera set-up. | |
| The figures in place, to check their positions and lighting angles. | |
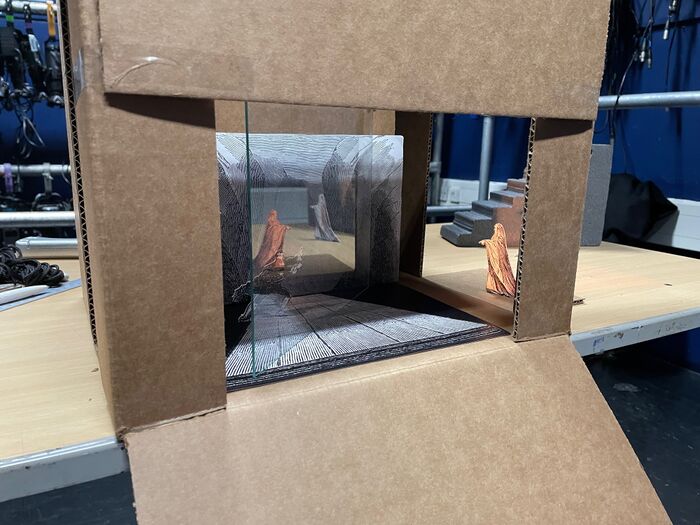
| Through the the audience-left wing. | |
| Steps to allow the ghost to rise up. | |
| Through the the audience-left wing, with steps opposite. | |
| The ghost on the step. A second ghost has been made facing the other way, so the ghost figure can turn round before going off stage. | |
| Top view, showing the position of the glass, diagonally across the stage. | |
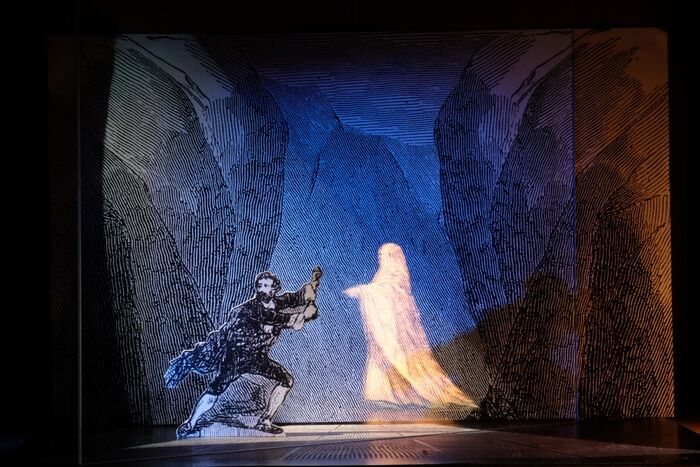
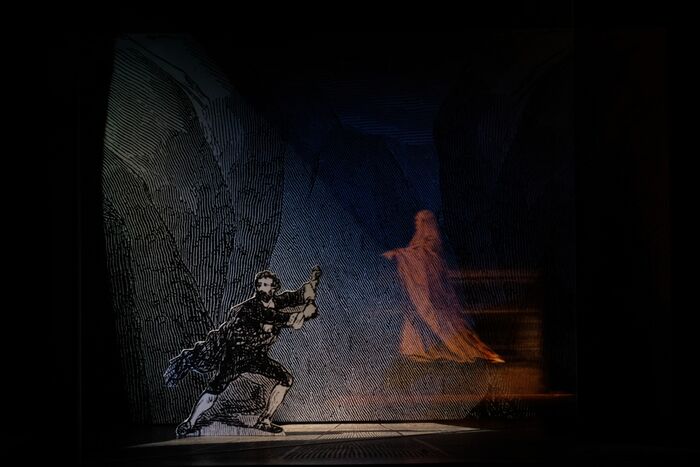
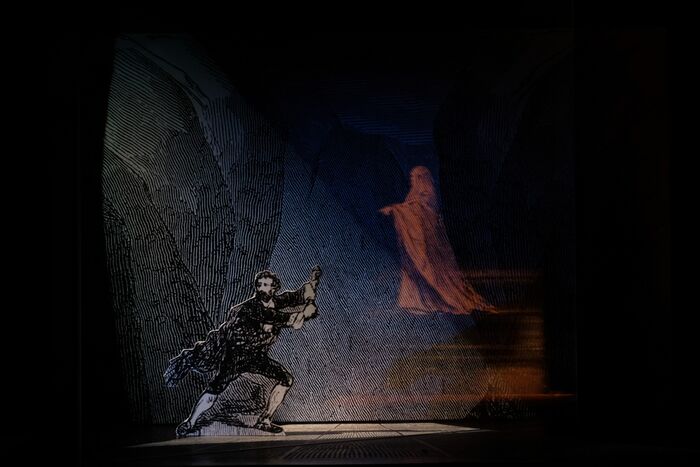
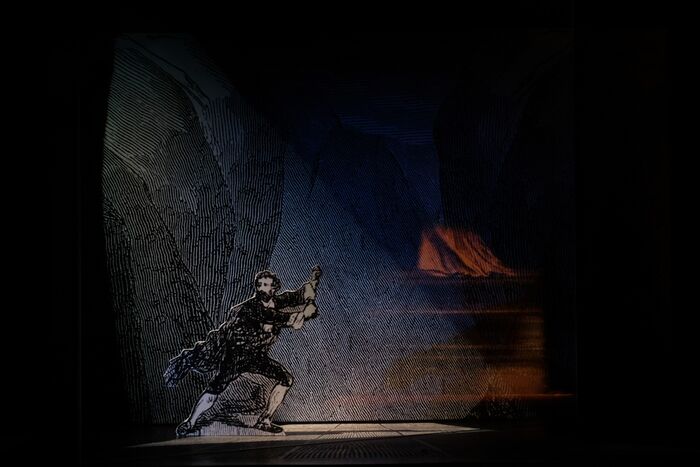
| Lighting completed. One spot provides moonlight on the protagonist, another provides a blue wash on the backdrop. The ghost is lit by a light coming through the top of the stage and into the wing. Light reflects from the white ghost and bounces back onto the stage causing the warm glow in the right of the picture. This can be reduced by dimming the light on the ghost, making it more - ghostly! |
Our Pepper's Ghost Story[edit]
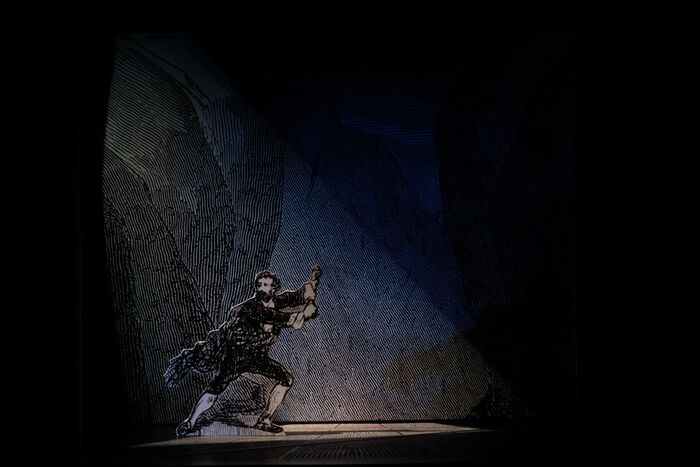
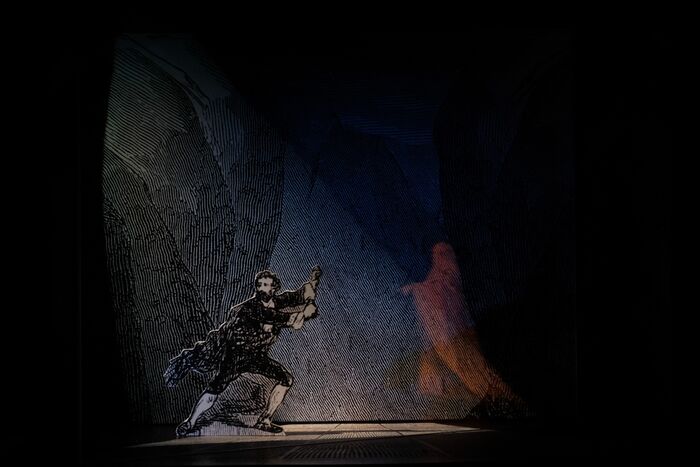
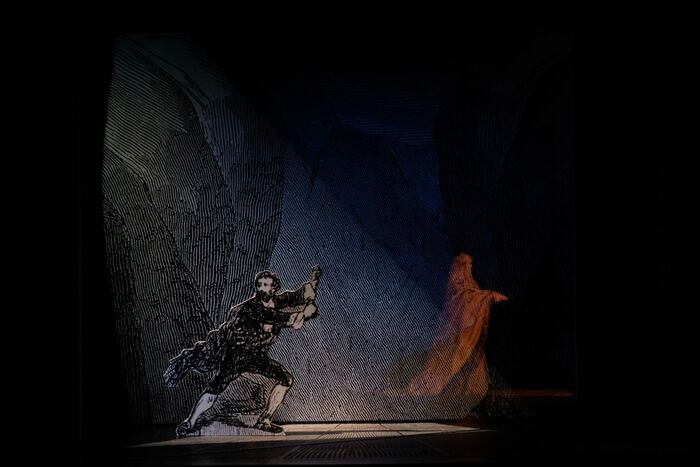
| Scene: a desolate mountain pass. Our protagonist is caught by a thin beam of moonlight. | |
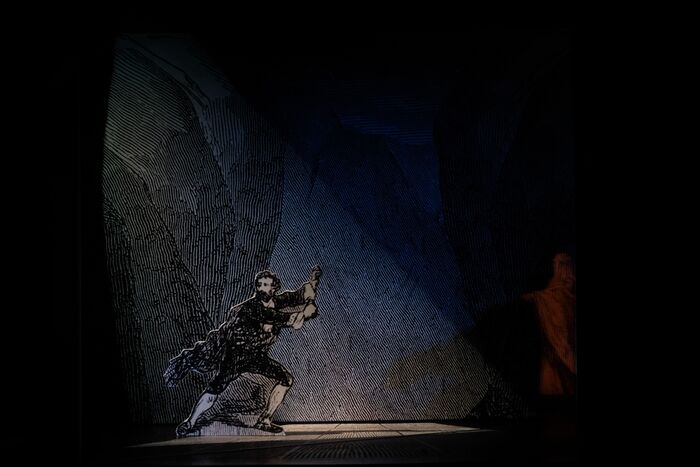
| But what is this, emerging from the mist? | |
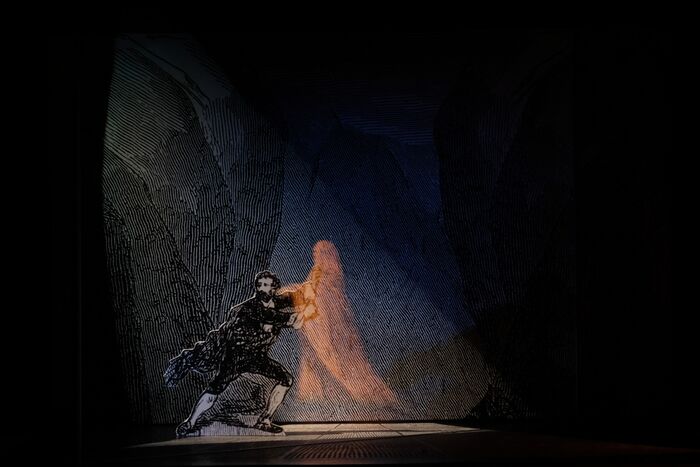
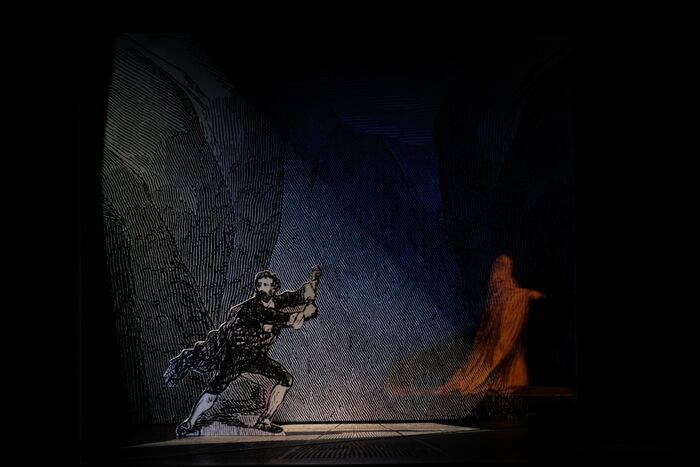
| Horror! A ghostly figure in robes points towards our hero! | |
| He tries to ward off the frightful apparition, but his hands pass right through its diaphanous form. | |
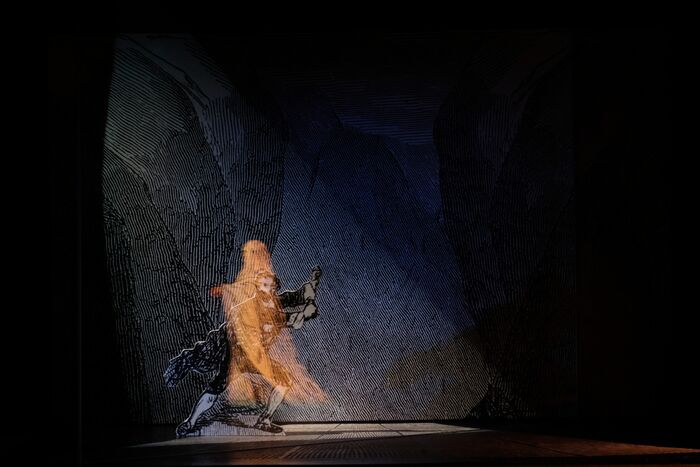
| Without responding, the ghost envelops the hero. | |
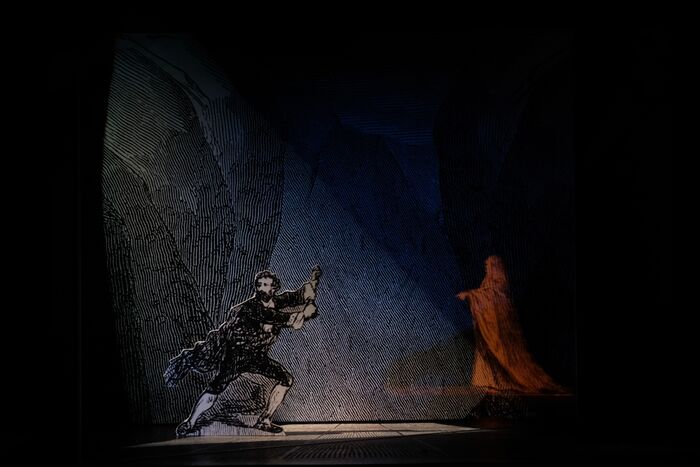
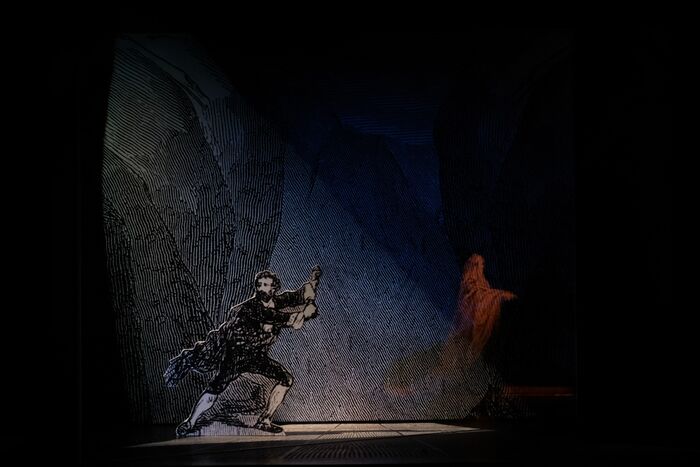
| Still pointing, it recedes... | |
| ...turns... | |
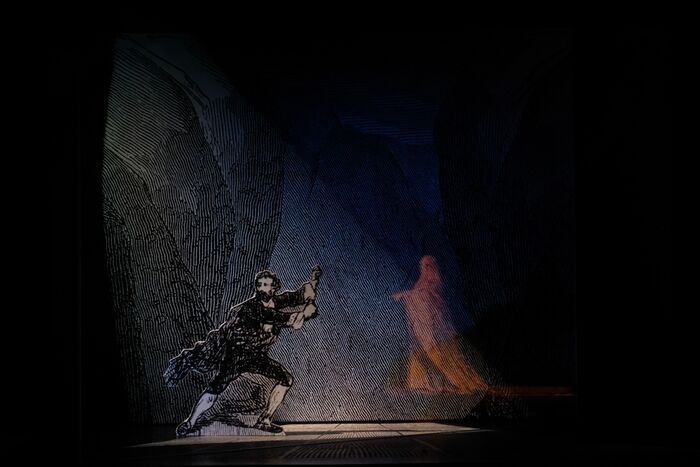
| ...moves away... | |
| ...and diminishes. | |
| (alternative ending) Still pointing, it recedes... | |
| ...floats... | |
| ...rises... | |
| ...and is lost to sight in the mountain fog. | |
| Our protagonist is frozen to the spot, terrified beyond his wits. |
Credits[edit]
| This learning method was made by: | Nick Hunt |
| Institution: | Rose Bruford College of Theatre and Performance |


